Creating Beautiful Rose Petal Soaps: A Step-by-Step Guide
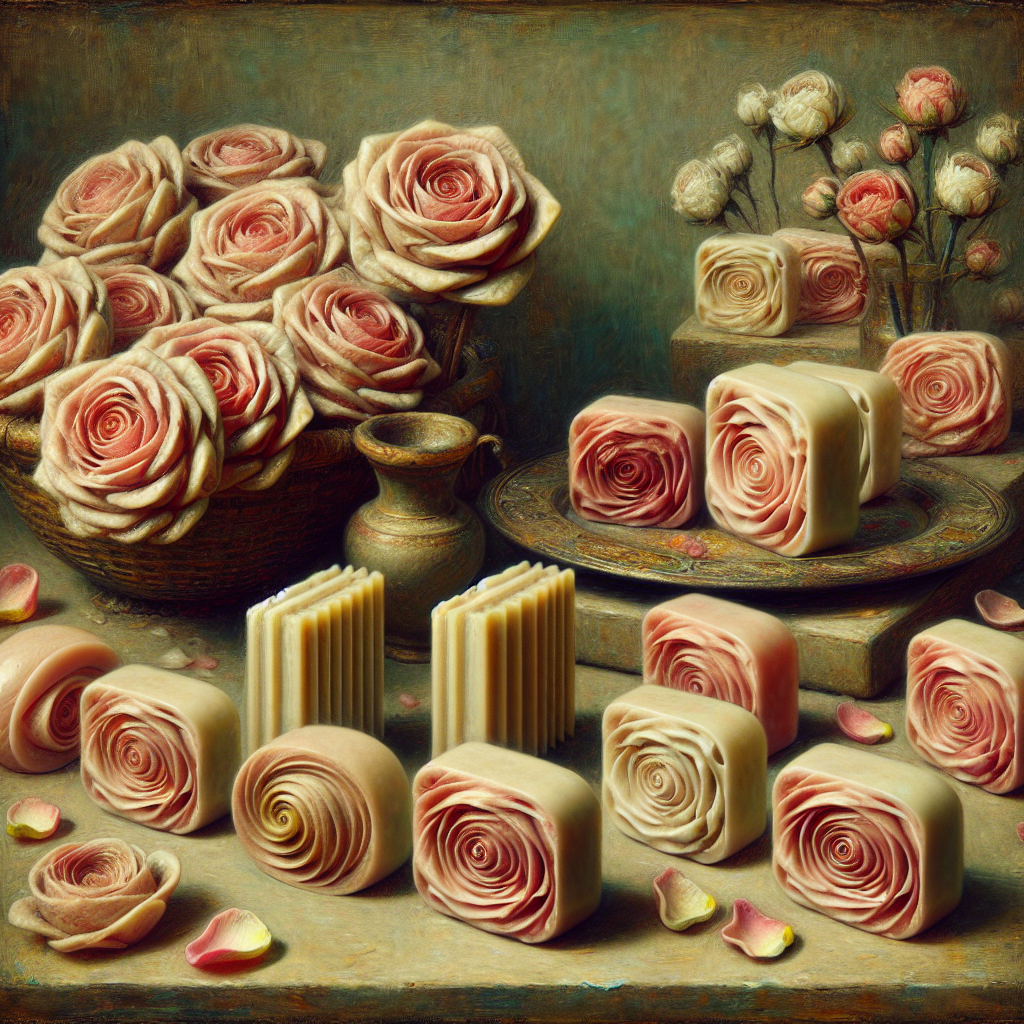
Hey there! 🌹 Ready to jump into making rose petal soaps? These delightful, single-use wonders don’t just clean your hands—they sprinkle a bit of magic onto your bathroom decor. “Why bother making soap when buying is so easy?” you wonder. Well, crafting is way cheaper than therapy, my friend! 😄
Gathering Your Supplies
Before you start, peek at the description for the full recipe, handy tips, and the supply list. You’ll need wafer paper, preferably around 0.27 or 0.3 mm thick, for quick dissolving petals. Snip them into petal shapes around three inches long. You can do this by hand or use a nifty cutting machine like the Silhouette Cameo. For molding, snag something round like Styrofoam balls; I’m using a three-inch ball to give a gentle curve to the petals. Quick tip: Cover the balls with a moisturizer like raw coconut oil to keep things from sticking.
Painting and Molding the Petals
Time to channel your inner Picasso! 🎨 To mold the petals, you’ll need to paint them. I suggest using a liquid surfactant like bubble bath or body wash for extra bubbles. Add some SLSA for a lather boost, and microwave the mix to dissolve it. Feeling artsy? Mix alcohol, mica, and liquid colorant for lively edges. Dab it on the edges and watch it spread. Paint the petals with a gradient—darker at the top, lighter as you go down.
Drying and Unmolding
After painting, lay the petals flat and let them dry completely. This might take a while, so maybe catch up on your favorite show or pretend to read that book on your nightstand. 😏 Once dry, gently unmold the petals.
Showcasing with a Soap Base
To flaunt these colorful wonders, use a clear soap base. Melt it and add your favorite scent—something that whispers, “I’m fancy, but still chill.” 😉 Carefully poke each petal with an 18 or 20 gauge wire, dip it in soap, and let it dry for about three minutes. Once dry, remove the wire and use your fingers to smooth out the hole.
Creating the Big Flower Holder
Now, let’s craft a grand stage for your petal performers! Use a thicker paper, about 0.6 mm, for the flowers to maintain their shape. These should be around seven inches in diameter. Repeat the painting process, but this time, paint both sides. Mold each petal one at a time until they’re snug against the ball. Let them dry, then gently unmold. If any flower breaks, just glue it with soap.
Assembling Your Floral Masterpiece
To assemble, start with the large petals and work your way to the center, adding smaller petals or stamens. I used a center from a pre-made bubble bath flower. Want more bubble bath flower tips? Click the information icon!
Curious about dipping petal sets? Sadly, it doesn’t work well; they tend to stick or break. But full flowers? They dip beautifully! 🌸
A Personal Touch
While crafting these soaps, I couldn’t help but think of my mom. She passed in 2015 but adored everything I made for her, never using them, just proudly displaying them. If I gave her one of these flowers, I’d have to make her use it. Or maybe I’d give her two—one to use and one to save. But knowing her, both would end up collecting dust on her mantel. Ah, the things we do for love!
And there you have it, your very own rose petal soaps! Now, go forth and create, because life is too short for boring soap. 🧼
“This page contains affiliate links. If you choose to purchase after clicking a link, I may receive a commission at no extra cost to you.”
Discover more from NatureZen: Balance, Health & Natural Living
Subscribe to get the latest posts sent to your email.

